Introduction To Maya: Creating UV's For the Chicken Coop
Today I continued with the farm scene tutorials to create the UV's for the chicken coop. To start I had to change the workspace from Maya classic to UV editing. This creates a grid on the screen which will display a models UV's when selected from the workspace. The goal of laying out UV's is to enable you to easily texture over the model. This means you want your UV's to look as clean as possible and to face the right direction.
When creating the UV's for the walls, I had to select the right edge of each asset and cut it so that the UV would be flat. This then enables you to unwrap the UV in a cleaner way. If a UV is messy when unwrapped, then you can use the cut and sew tool to manipulate the edges for a cleaner look. For assets like the roof, only one asset needed its UV's unwrapping. You can then duplicate the asset multiple time which will save time.
I ran into a few issues where my UV's may not look the same as the videos. This was fine for the most part until I came to the doorway. I was having a hard time identifying what I did wrong to make the UV look like this (below). After watching the video a few times and still not understanding, I asked one of my fellow students for help to identify what could be going wrong. They told me to re-cut the back edge and the bottom edge, which fixed the problem, allowing me to progress.
Below are the finished UV's for the walls of the chicken coop. I found this task quite daunting as it felt like one mistake would ruin the model. But as I progressed through it and actually understood what I'm doing, I feel a lot more confident. I still need to improve with the cutting tool however I will gain this through experience and trial and error.
Now that the UV's were made for this side of the building, I then had to mirror all of the assets and then go on the UV editor and flip all of the UV's to the opposite side. This was a lot quicker than having to do the whole process again. I then organised the UV's for each part of the building so that they fitted the box in the UV editor.
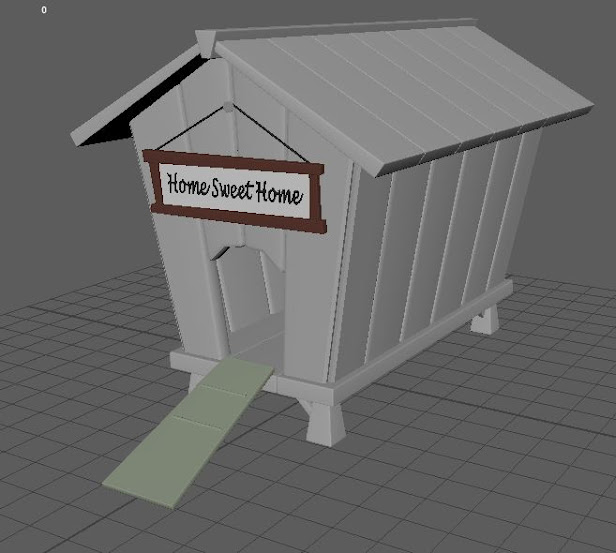
Now that the model was finally finished the last thing to do was to import the missing sign and ramp and position them correctly. After grouping everything together the model was now ready to be put in the Maya scene.


Comments
Post a Comment