Getting Used To Animation: The Morph Task
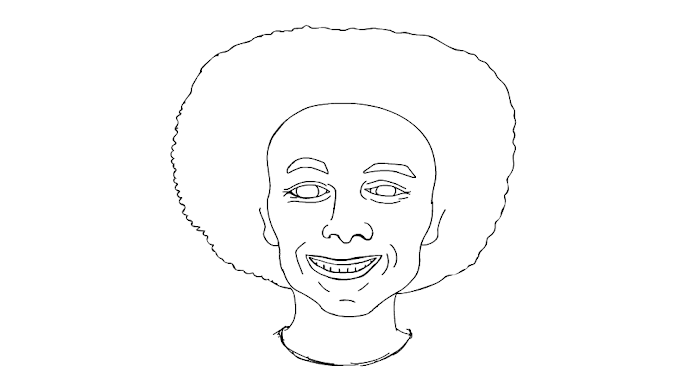
For our first animation lesson with Nat, we were tasked with creating a 3 second animation loop using the software Adobe Animate. The animation had to be digitally drawn and consisted of our self portrait morphing into a distinguishable item of food, then to a distinguishable animal and then back to our self portrait (this is what creates the loop).
Before starting we were given helpful shortcut keys which would be needed to complete the task.
Ctrl + 2 - This center's the frame, allowing you to quickly see the drawing as a whole.
B - This changes the cursor to the brush tool .This is what you use in animate to draw your animations.
V - Changes the selected tool back to cursor, allowing you to select objects in the frame
E - This switches the selected tool to the Eraser, Allowing you to correct things in the drawing
F5 - This holds the frame you are currently working on and allows you to reuse it for as long as you want. Changes can be seen on the timeline.
F6 - This duplicates the current frame you are one. This can be useful if you want to make minor changes to an image, saving time.
F7 - This creates a new blank frame on the timeline.
Before I could begin the animation I had to first make a new file, ensuring that it was 1920 X 1080, with a framerate of 24. This means it will play 24 frames of my animation a second. We also received a list detailing what to do on each frame, helping to plan for the animation. I decided to draw each of the finished images first in order to visualize what I am working towards for each drawing.
Finally I drew an elephant for the final morph. I knew I needed an animal which roughly had the same head shape as the last two drawing but didn't know what to go with. When googling images of animals I found an elephant and saw that I could use the trunk as the stalk of the mushroom, as well as the neck for my self portrait.


Comments
Post a Comment