Today we had our first lesson in using photoshop. I have a small amount of experience using photoshop, however I don't feel very confident using it. For our first task we were simply asked to resize and place the cupcake images on the line. This could be done using the transform tool, which is applied when an image is selected and ctrl + T is presses. This puts a box around the image which then allows you to manipulate its size and rotation. This was easy enough to do and served as a nice recap.
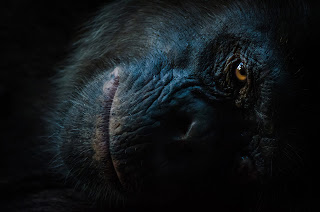
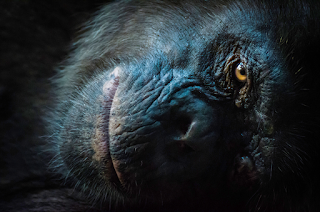
Next we took an image of a gorilla and were told to adjust its brightness to make it more clear. One way of doing this (and the way I probably would have done it before) is by clicking the image tab, finding adjustments and then clicking on brightness/contrast. This then enables you to move the sliders the edit the image. However the problem with this is that you are changing the original image, meaning you are unable to go back if you find you don't like the results. Instead of altering the whole image, you can go to the layers tab and select an adjustment layer. This allows you to edit an image without effecting the original. You can then select brightness/contrast and edit your image that way. This again was very easy to understand however its something that is really useful to know.
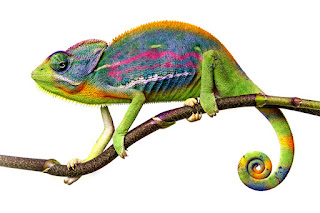
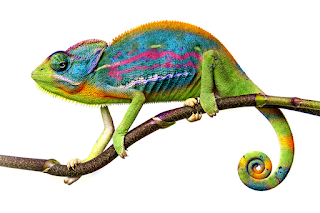
Using the same method as before, we edited the chameleon images hue/saturation. The hue slider changes the colour of the chameleon, the saturation takes away and adds colour and the lightness changes the brightness of the image. A really useful tool found in the hue/saturation is the modify hue tool (hand with two arrows). This tool allows you to select a specific colour in the image that you want to modify, with the changes made only happening to that colour in the whole image. This tool is really useful for editing images.
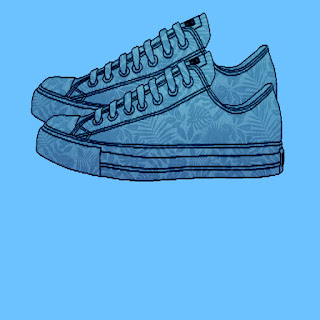
We then looked at the erase tool in photoshop (shortcut E key). You can change the size of the eraser with the bracket keys. After playing around with the eraser, we then right clicked the eraser tool and selected magic eraser. This allows you to select a part of the image and then photoshop will delete any similar pixels in the area. Its a quicker way of erasing parts of an image. We used this tool to delete the background of our shoe. After deleting the background we then went back to the files and selected an any image from the patterns folder, bringing it into the same photoshop document. We then covered the shoe with the pattern and then right click on the pattern layer and selected clipping mask. This cause the pattern to take the shape of the shoe. You can then click the normal tab above the pattern layer and select the appropriate blend mode so that the shoes lines show up on the image as well. We then merged both these layers together (shortcut, select both layer and Ctrl + E). Finally we added a background with the paint bucket tool.
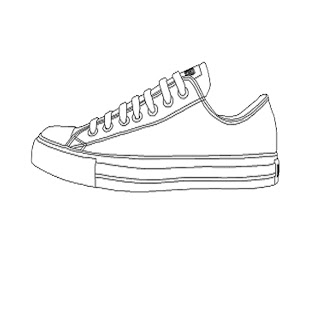
Finally we took the last image of the shoe and repeated the last steps. The problem with this image however is that the white of the shoe is too close to the colour of the background. This causes some of the image to be deleted along with the background. To fix this you go to the tolerance range, found at the top on the magic eraser tool and change the number from 30 to 4. This causes photoshop to take out a lot less pixels from the one selected. We are then able to finish editing the image.


Comments
Post a Comment