Minor Project: Completing The Samurai's Head Model
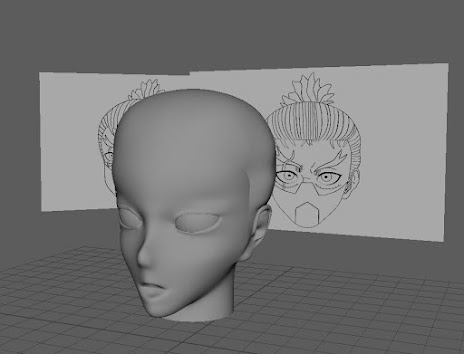
Today I decided to return to modelling the Samurai's head. I added the back of the head by extruding up the back and then connecting it through the front. I had to add in an additional edge loop running through the head so that there was enough geometry. I then shuffled around the vertex's and used the relax tool until the model was smooth and matched my drawing.
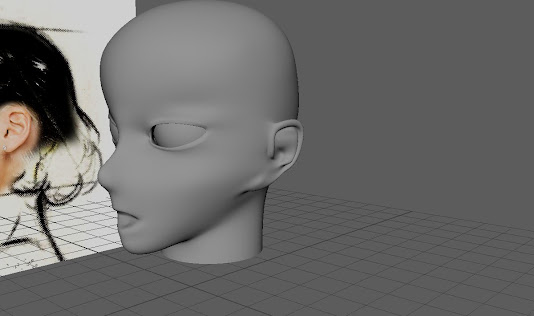
Now that my character the back of his head I then referred back to one of the videos I used when previously trying to model my characters head. The video covers how to model a human ear, and although it is far too detailed to fit my model, I used the steps as reference until I was happy to finish the ear my own way.
Video Link: Head Modeling Tutorial Part2 | Learn Maya
At first I was unsure if I was even able to use this tutorial as my model does not have as many edge loops as the one in the video, however I thought it was worth a shot as I've never had to model an ear before. Fortunately I was able to use the tutorial and it turned out the only problem I ran into was the placement of the ear itself. It ended up taking me 3 attempts to get the placement of the ear right. At first it was way too far back on the characters head to look natural. Then it was too small on the characters head. I finally managed to get the right placement which made doing the process over and over again worth it.
Ear Wrong Placement
I used the same image provided in the tutorial as a basic reference as to were to place each point of the ear.
Once the ear was on the model it made the placement of the hair much easier to visualize. In order to make the hair I simply duplicated the head model and increased the scale. I then deleted away the parts I did not need.
Once the basic shape of the hair was complete, I then had to try and figure out how to make the bun which sits on top. I searched around on YouTube tutorial for inspiration when I came across a video which used buns in their character model. I decided to use this method.
Video Link: Space buns hair, speed modeling and painting, 3d Maya 2022, Substance painter, Sweep mesh tool
You simply take a cylinder and then use a deformer to rotate the geometry to get the textured look.
I feel like the hair will look a lot better when It is finally textured however I was proud of what it looks like so far. To complete the look I added little strands of hairs hanging down.
The next part of the head I completed was the character eyebrows. I did by using the same method as the eyebrows for Jetpack Jones. The eyebrows were simply created from a plane which was then extruded out and bevelled.
The final thing to model was the characters mask. I did this by duplicating the characters head and deleting away the unneeded parts of the model.
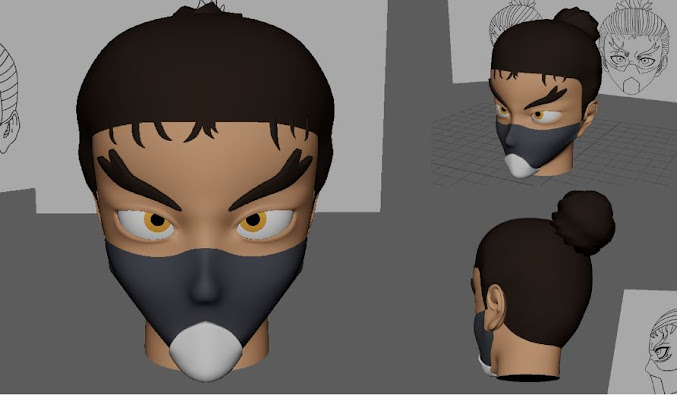
After completing the model I added the basic colours of the character in order to see how close it looked to the drawing.
I feel I have been able to successfully translate the ideas of the character over to 3D and I'm very pleased with the results. I remember feeling overwhelmed when I first began modelling the character and at one point couldn't see how I was going to make it look anything like the drawing. However after modelling 3 iteration of the character I feel I have finally been able to translate the ideas on paper into 3D. I am now excited to see how the textures I have picked out will improve upon the character further in areas such as the scar which runs along his face. I look forward to texturing the model in Major.


Comments
Post a Comment