Major Project: Rigging Samurai Character: Blink
Today I continued with rigging the Samurai character to add in a blink control. This was only necessary for this character as the Cyberpunk character does not have eyes. I started by duplicating the characters head and then adding in an upper and lower eyelid joint.

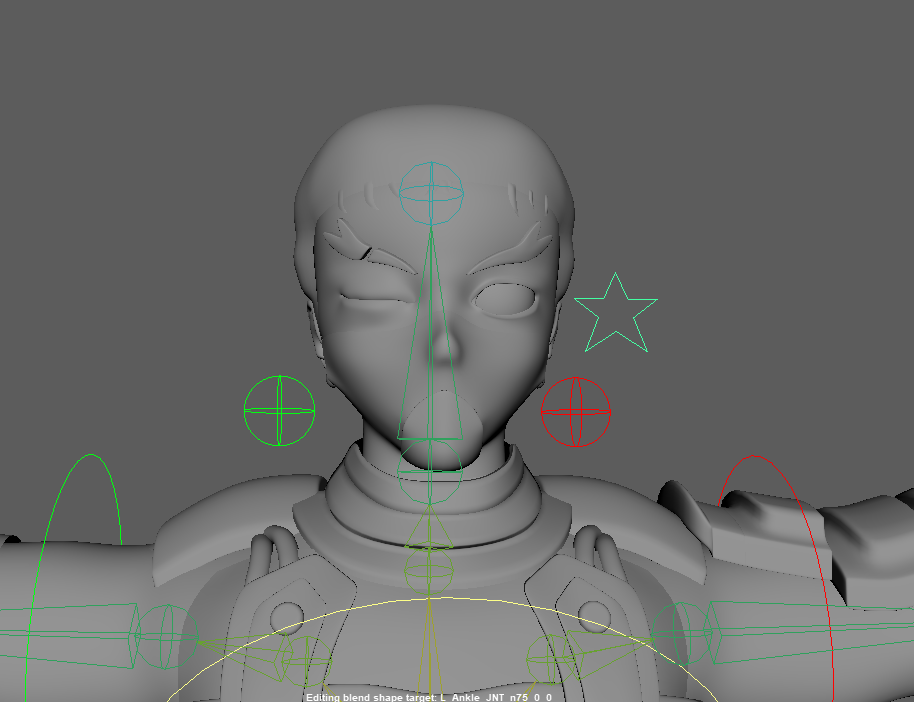
After adding in the joints I had to skin the weights around the eyes and then add in animation to on the joints to get a rough guide as to see how far the joints should be rotated to close.

I then adjusted the positioning of the eye lids by using the skinning weights. I did this as cleanly as I could get this with the skin weights and then used corrective blend shapes to make them look better.

After finishing one side of the model all I had to do was mirror the skin weights and blend shapes. However I encountered a problem which meant that the skin weights were not lining up and so the eye would close at awkward angles, different to the left eye. This was due to the characters head not being straight in the viewport so the mirror would mirror awkwardly on the model. I also was unable to move the joints as they were already bound to the model through skinning. If I wanted to move them I would have to reskin the would think, losing all progress. After testing out different methods I found that I had to straighten the model. Then delete the right joints. Parent the left joints to the brow joint and then mirror. Unparent everything and add the new joints to the head's skin weights. Then I was able to successfully mirror over the skin weights and blend shapes. This did fix the issue for the most part however as I had to line the head up by hand I found that the weights were still not identical. I spent time editing the blend shapes on the righthand part of the face until they looked similar to the left.

After that I added the blendshape into the main model and made a control so that the character can blink using the channel box.
Overall I found the tutorial to be simple, however I managed to overcomplicate it by not properly lining up the model after duplicating it. The reason I didn't do so was because I was worried about the blend shape not lining up when adding it to the model. I am however glad I was able to figure out the problem and complete the blinking control.


Comments
Post a Comment