Major Project: Beginning Animation
Today I began animating the final version of the animation using both of the new character rigs. I decided to start with two scenes which contain both characters individually in order to test the workflow of using both character rigs.
In order to save time I decided to import both characters into the previz scene I wanted to recreate. I could then animate the character to the same actions as a first pass and then go back through and add in additional detail for the final animation version.
I chose to complete one of the running sequences for both characters as they are the most intense movements the rigs will have to withstand. Meaning if both rigs work for this aspect of the animation, then I will most likely be able to complete every other shot of the animation.
My initial concerns for animating the Samurai scene was that the knees of the character would not bend in the correct way, therefore making the character look odd. However after playing with the rig for a bit I found that if I turn off the limiter for the leg twist, I could manipulate the knee into looking how it should. After finding this out it was then a simple case of following along with the previz characters actions. Overall I found that my original previz run cycle was still quite detailed enough and simply adding in additional movement for the back and arms made the running look more convincing. The final change I made was to the camera, which I set to move forward slowly to match the movement of the animatic.
The image below shows how much more the characters movements were exaggerated.
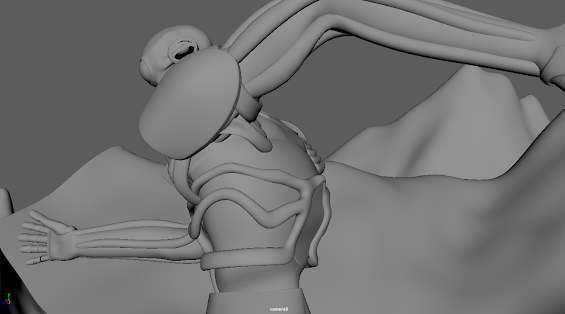
My main focus for the animation is to make sure it is easy to read for the viewer. I spent a lot of time planning out shots with composition to help with this, however to help alongside this I really tried to focus on the character silhouette. As seen below I made sure the silhouette for each keyframe was clean and easy to read. That way the viewer doesn't have to struggle to work out what they are seeing. This is important for shots like this as they are very snappy.
In order to attain certain poses from the character I found that I had to increase the limits I set on the controls. This meant I could include more exaggerated movements to really emphasis the action. I also significantly reduced the shots frame rate in order to make the movements look more fluid and the overall animation more interesting. This was something that felt off in my previz that I wanted to fix.
Below is an example of the silhouette on the second pass. I then tweaked the movement of the right leg to make it more readable by having a cleaner silhouette.
Below is the final version of the shot, which seems quick but in context will make more sense as it is part of a collection of shots.
I then did the same for the Cyberpunk character.
Overall I am happy that I am finally beginning the animation and that the rigs I have made work effectively. Having the actual models of the characters moving around is really cool to see and makes even the previz actions look so much better. I cant wait to see what they look like with even more animation and textures applied.


Comments
Post a Comment