Posts

Showing posts from November, 2020

Photoshop And Illustrator
Image
 Today we continued learning the tools in photoshop. Below are two images I made using the mask and select tool, combined with different types of brushes.  After completing the Photoshop work we then moved on to illustrator just to refresh on how to use the pen tool. This is an essential tool which we will be using a lot and so we need to understand how it works. Below is a worksheet which shows different ways of using the pen tool to create the correct shape. 

What If Metropolis? Diomira: Travelogue (1107 Words)

Before writing my travelogue, detailing to the reader the Diomira experience, I first referred back to my research I previous written. This was to ensure nothing is missed out.  I need to ensure I talk about the key details listed below:  Sixty Silver Domes Bronze statues of the gods Lead streets Crystal theatre A golden cock Tower September evening Multicoloured lamps Food  stalls I have also previously come up with a backstory for my city which I would like to refer to throughout the description to give my travelogue more depth. City Backstory The leader of the city are aware that the gods the people worship are just myths. They are exploiting the people by forcing them to donate resources to the "cause". This has resulted in them getting rich off the people of the city. If you cannot donate you are sent to live on the perimeter of the city with the poor. They cannot afford lights, links with darkness (sinister). The golden cock found on a tower may be a way of controll...

What If Metropolis? Project Start

Image
 After finishing the previous project, I managed to produce three concept paintings of the city of Diomira, which derived from the text written by Italo Calvino. Upon reflection of my work, I stated that I was happy with my concept paintings up until I added the colour as I felt it lost its professional look. This is one aspect I want to improve on throughout the second project.  Before starting the project I must first pick one of the concept art pieces of Diomira which I want to turn into the 3D rendered image. I feel like the image which shows off the city best is the exterior establishing shot (middle one). I feel as though this piece shows off my interpretation of the city the best to the viewer. Now that I have identified the concept piece I will be going with, I then referred to my tutor to ask what I could improve upon to make the image better. I want my concept art to be the strongest it can be to allow the ideas I have for the city to be on perfect display for the vi...

Introduction To Animation: Animating The Lego Car

 The animation for the Lego car was very basic, however it allowed me to understand the fundamentals of animating in Maya. The car moves across the scene, before coming to a sudden stop. To make this look natural I had to edit the curve in the graph editor to make the car progress as if it was real. I then had to add in the keyframes for the skid when the car comes to a sudden stop. 

Introduction To Maya: Rigging The Lego Car

Image
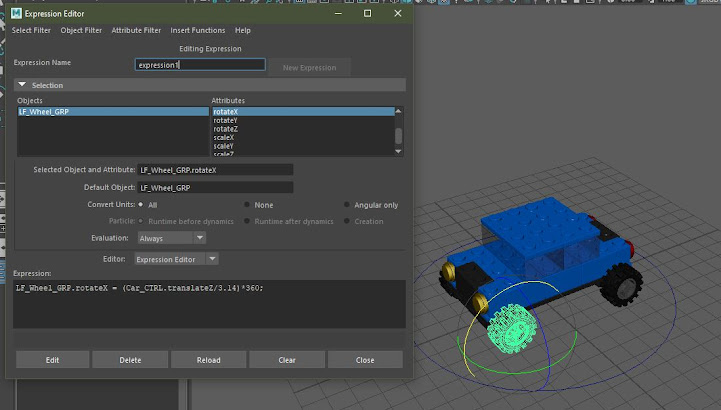
  In order to rig the Lego car, I first had to clean up the scene. This was done by getting rid of any unnecessary object and by grouping the appropriate parts of the car so that they could be edited independently. I made a group for the wheels to spin, the car to rotate and for the car to move.  In order to make controlling each part of the car more accessible, I made a control using a circle NURBS. I then went into the rigging tab and selected point, orient and scale while the Ctrl and Car trans group were selected. This meant that the car could now be controlled by selecting the circle object in the scene. In order to understand different ways of doing the process seen above, the video shows you how to connect the rotate group of the car to the ctrl. This is done by making a new attribute for the control called skid. Once this is done I used the connection editor to assign the new attribute to rotate Y for the rotate grp.  The final thing to do was to make it so the wh...

Introduction To Animation: Running

Image
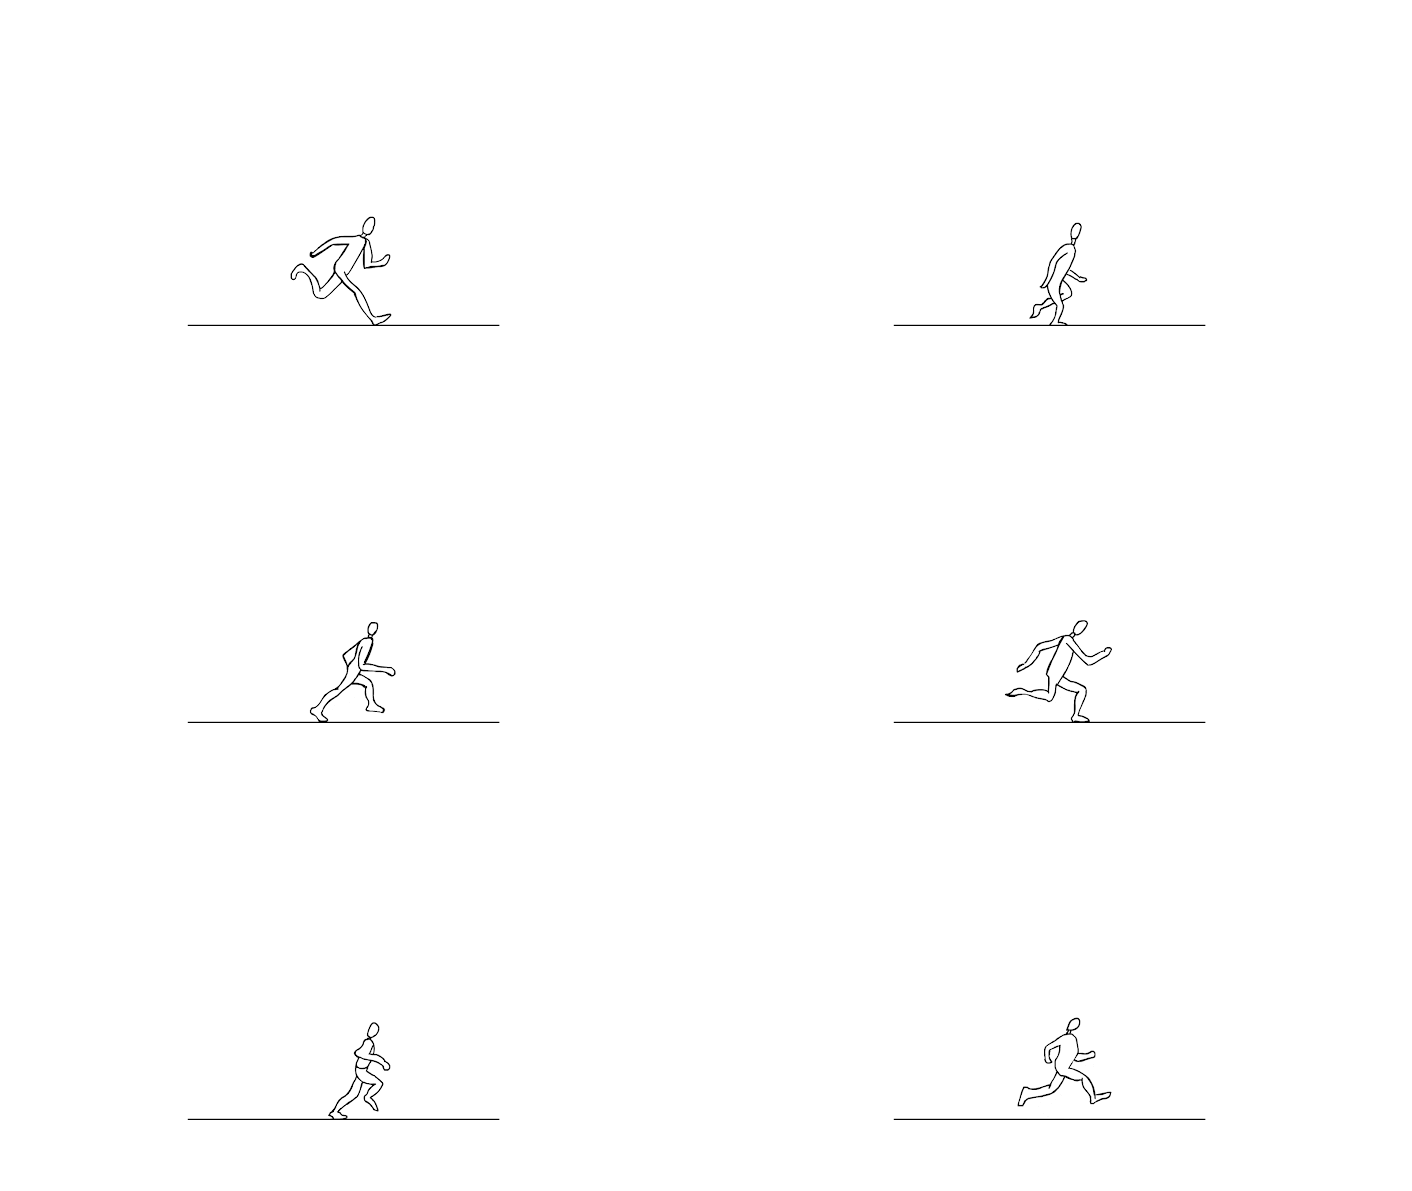
 This week we completed a characters running animation. This was very similar to last weeks walking animation, however it required less frames as the character is moving faster. I found this one easier to visualize in my head because of this and completed the task quickly.  The image above is the animation shown at 24 FPS and the one below is shown at 12 FPS. Like last week, we also had to show the character running across the screen. This was a lot easier to do now that I knew where to place each frame. I simply had to repeat the process 3 times. The image above is at 24 FPS and the image below is at 12 FPS I am pleased with the results and feel more confident animating human actions now. 

Introduction To Maya: Texturing The Lego Car

Image
 Now that the Lego Car had been made the next thing to do was to texture it. This was done by assigning new materials to the appropriate asset. Before starting, a light source needed to be in the scene so that when rendering the model is visible. For this model a simple direction light was used. As Arnold was the rendering method, the light had to be adjusted in the attribute editor. The exposure, angle and sample was increased to make the seen brighter. This then allowed us to use the Aistandardsurface to add the colours to our car. I have previously textured in Maya before however I was not aware of the ability to change the pre-sets for the textures and find something which matches the material you are trying to replicate. This proved to be extremely useful and adds the detail needed for a simple model such as our Lego car. I particularly like the glass present as it adds another dimension to the model. 

Introduction To Maya: Making The Barn

Image
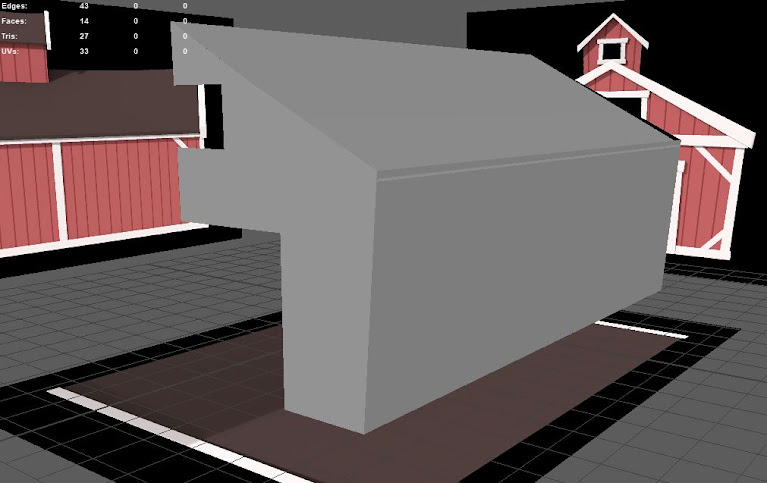
Today I continued making the assets for the farm scene. As I had finished the chicken coop and laid out its UV's, I could then begin following the video to make the barn. The same steps were necessary in order to create the barn as the chicken coop, ensuring that I used the references to make sure the barn was constructed accurately. I used the lattice tool for the first time which made modelling curved shapes a lot easier. This was used to give the barn its roof.   

Invisible cities Drawing Process

Image
 

Diomira reflection

Image
  I am really happy with the final images and the way my project has come together. However, at the beginning of the project I felt very overwhelmed by the amount of thumbnails I had to produce.  It took me longer than I expected and I now realise that I must get quicker in producing my drawings.  I switched from digital drawings to traditional sketches to try and speed up the process and this helped me.  I am also very disappointed with the scan images I have uploaded and I now know I must spend more time uploading my work.  In all honesty this project has been a race against time but a massive learning curve for me to prioritise and timetable my workload more effectively.   I enjoyed coming up with a concept for my City and I am very pleased with the end result.  I hope that I have shown the story enough in the images which was my main goal.  However, I can see that I need to work on my colour images as I feel as soon as I added the colour ...

Diomira Research: City Detail Analysis (Google Docs Version)


Diomira: Researching Source Material (Continued Google Docs version)


Diomira Research - sketches relating to analysis (art of)


Animated Gif Of 3 Digital Paintings

Image
 

Diomira: Research Into Source Material


Introduction To Maya: Creating UV's For the Chicken Coop

Image
 Today I continued with the farm scene tutorials to create the UV's for the chicken coop. To start I had to change the workspace from Maya classic to UV editing. This creates a grid on the screen which will display a models UV's when selected from the workspace. The goal of laying out UV's is to enable you to easily texture over the model. This means you want your UV's to look as clean as possible and to face the right direction.  When creating the UV's for the walls, I had to select the right edge of each asset and cut it so that the UV would be flat. This then enables you to unwrap the UV in a cleaner way. If a UV is messy when unwrapped, then you can use the cut and sew tool to manipulate the edges for a cleaner look. For assets like the roof, only one asset needed its UV's unwrapping. You can then duplicate the asset multiple time which will save time.  I ran into a few issues where my UV's may not look the same as the videos. This was fine for the most ...

Diomira Research: City Detail Analysis

Image
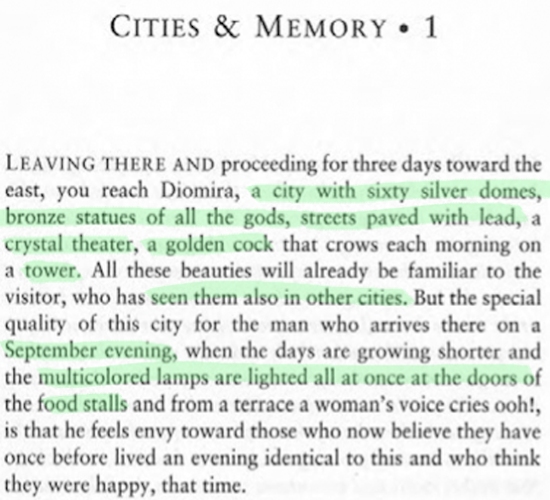
Next I made a list of things stated in the text which needed to be shown in my city Sixty Silver Domes Bronze statues of the gods Lead streets Crystal theatre  A golden cock  Tower September evening Multicoloured lamps Food  stalls  Before begging my final three sketches, I must first investigate how each of the things stated above will look. This will help create an aesthetic for my city as well as ensuring I explore each idea. As I learnt from my thumbnail drawings, your first idea isn't necessarily your best idea.  I started by looking at the most prominent detail about the city, the silver domes. One thing that is worth mentioning first however, is the fact that the text never mentions any form of house apart from domes. We are left to assume that the houses the people live in are the domes, however to follow the story concept I have made for the city, I want the rich to live in the silver domes and the poor to live in 18th century houses. This will show a s...